Don’t Tell the Others, but This One’s My Favorite
You’ve seen my hutch before, in other posts, and maybe on instagram (riggstownroad), but you’ve never been formally introduced.
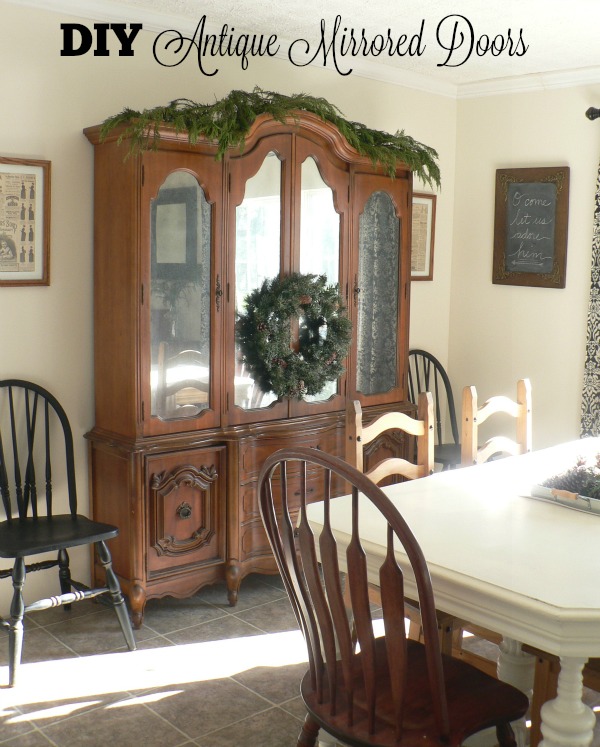
So… let me introduce you to my favorite piece of furniture. Don’t tell the others. 😉
She was always beautiful, but she recently got a makeover, and now she just shines. ;

Two things I loved about this girl, were the storage part and the display part. The display part had a downside though. It limited the storage. I could only store things on those shelves if they were styled to my liking and coordinated with the room. And I needed to be able to store things in there that I didn’t necessarily want on display all the time, such as seasonal stuff.

So. I decided to convert the glass doors into vintage mirrors.

And I LOVE them.
Best $20 I ever spent. And it was so easy.

Do you have a hutch that needs a makeover? Here’s how I did it.
MATERIALS:
- Krylon Looking Glass spray paint (It took 2 cans for my project.)
- A spray bottle of plain water
- A soft, lint free cloth (I used an old t-shirt.)
- Flat black spray paint

DIRECTIONS:
- Remove the glass from your cabinet doors, if possible. Remove the doors if the glass isn’t easily removable, and just tape off to expose only the glass. (Weird fact: Two of my doors had removable glass; two did not. Annoying…)
- Lay the glass/doors FACE DOWN on a covered surface. You should be painting the INSIDE of the cabinet doors. Very important!
- Spray a light mist of water over the glass.
- Spray a light mist of looking glass spray paint over the wet glass.
- Wait a few seconds, then GENTLY DAB the area you just painted with the wadded up cloth. (Do not rub.) This will leave empty spots, on purpose. (Dab wherever you see a bubble.)
- Let dry a few minutes, then repeat steps 3, 4, and 5.
- Do this until you are happy with the amount of “silver” you have. (2 or 3 coats) The more empty spots you have, the more antique/distressed your mirrored doors will be. (The pic above shows mine at this point in the process.)
- Let your painted glass dry completely.
- Spray a light coat of flat black over the silver painted glass. Remember, you are painting the BACK of the mirrored doors.
- Once completely dry, install your glass/doors back into the cabinet.
All done!
 Now you have a hutch that reflects the light in the room, oozes with vintage charm, adds some bling to your décor, and looks pretty while
 hiding storing all kinds of things.

And since you can’t see the seasonal stuff inside, it’s so easy to dress her up for the current season on the outside. Doesn’t winter look good on her? 😉
And since we’re talking about favorites, I might as well tell you that this is my favorite room in our home. (Total cost for everything in this picture: less than $100. Yep. Post about that coming soon!) Meanwhile…
You can find posts about my thrifty authentic vintage wall art HERE, and my DIY $1/1 Minute Chalkboard HERE.
So. Do you have a favorite?
and other parties
About The Author
Lynn
Related Posts
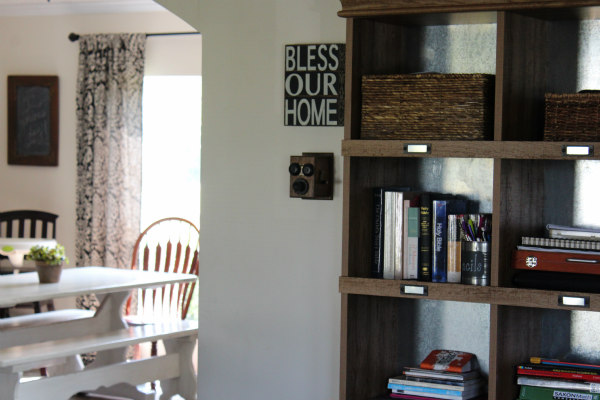
Amazon Bookcase Hack
Stuff happens. And you need a place to put it all. One thing that will…
16 January 2016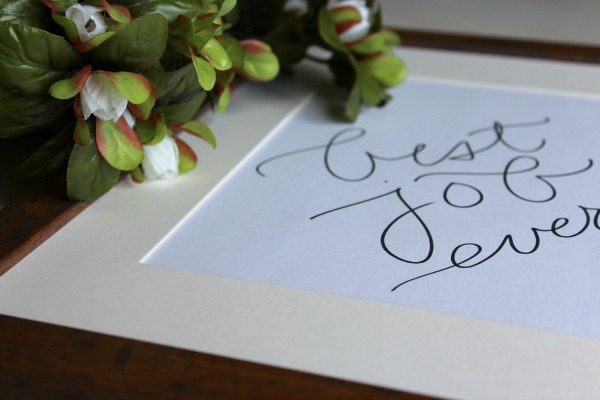
Best Job Ever! free printable
Do you love words as much as I do? I am such a word-nerd…
16 January 20162 COMMENTS
Leave A Comment

Kathleen | 19th Jan 16
Great idea! It also brightens up the room even more. I made a mirrored pencil holder last year, but my husband broke it. So sad.
Lynn | 20th Jan 16
I don’t know why, Kathleen, but that about your husband made me laugh. 😀 Just day to day life, right? lol
Thanks for visiting. 🙂