My Thrifty Farmhouse Table Makeover
Once upon a time, there was a table…

It was handmade for a family of seven, and it was the little table that could. It could seat at least ten when you squished together a little. It could hold a ton of schoolbooks, all spread out. It could handle the mess of play-doh and paint. (They both make me cringe a little. Ain’t gonna lie.) It was my sweet, farmhouse table.
But then I played musical rooms, and decided the dining room should be a living room (again.) The table traveled around a bit (literally,) and finally found its way back to my dining room (which was a living room, twice.) For a little while, I did use another table, but I missed this one. And when you need to feed a crowd, benches work best.

I felt bad for it, and (especially since) it had spent some time on my back porch. This little table deserved a makeover.
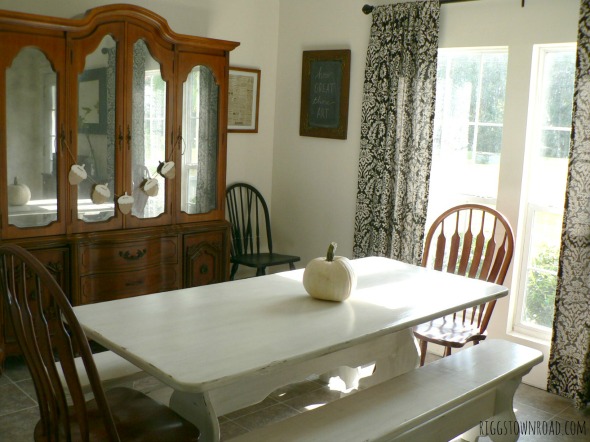
In the spirit of all things farmhouse, I decided to paint it white. It’s a color I call “thrifty white.” Just kidding. It’s plain ol’ straight-off-the-shelf white. But that is what made this project so thrifty. Instead of expensive chalk paint or some of the other new pricey products out there, I just used flat, white paint, antiquing glaze, and poly (matte finish.)

I sanded all the surfaces smooth, by hand, with help from some lovely assistants. 🙂 Then I filled in some cracks and gouges with wood putty. (Tip: Less is more.) When that was thoroughly dry, I sanded those places smooth. Then I cleaned the whole table and the benches with a soft, dry cloth, to remove dust.

I watered down some of the paint and just did a base coat as primer. The next day I painted the table and benches with two coats of the flat, white paint. When that dried, I applied Valspar antiquing glaze with a soft cloth, according to the directions. A little goes a LONG way! (Tip: Keep a damp cloth handy at all times. If you put more than you are happy with, you can remove a lot of it with the damp cloth right away. However, once it’s dry, it’s there to stay.) This is what gave the table the aged, farmhouse look. For a slightly more distressed look, I sanded some of the edges with sand paper. Also, anywhere there was a little paint drip, or some spot I didn’t like the look of, made a good candidate for a spot to sand. 😉 I wiped the dust off with a dry cloth again, from the sanding.
Then, I added the poly, because, like I said, this table gets used- a lot. I didn’t want to have to worry about anything that touched it. (And I don’t.) My tip for working with polyurethane: Work FAST. It begins to be sticky very quickly, and will show brush strokes. Spread some on, and move along to the next area very quickly. Try not to brush over an area you’ve already done, or there will be brush strokes.

I love the results. Doesn’t the table look happy? (If you don’t know Bob Ross, then just ignore that question.)
I’m still lovin’ my china hutch makeover, too. I wrote about the diy antiqued mirror doors HERE.

And so, the table, and the hutch, looked beautiful in the dining room. And they lived happily ever after. The end. 😉
About The Author
Lynn
Related Posts
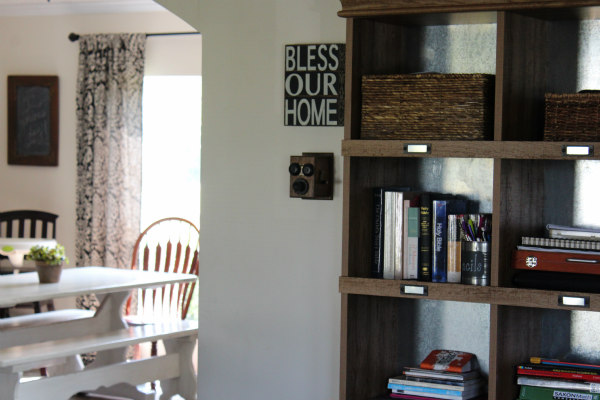
Amazon Bookcase Hack
Stuff happens. And you need a place to put it all. One thing that will…
24 October 2016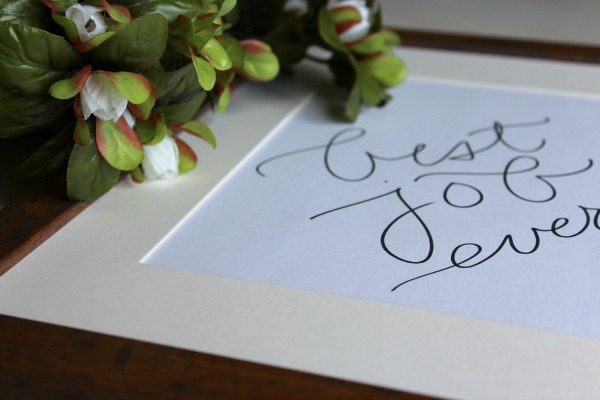
Best Job Ever! free printable
Do you love words as much as I do? I am such a word-nerd…
24 October 2016
Leave A Comment